Knowledgebase
Portal Home > Knowledgebase > Exchange Hosting > Configure Outlook 2010 Manually with Exchange 2010
Configure Outlook 2010 Manually with Exchange 2010
1.     Create a new mail profile for Outlook 2010
Start -> Control Panel -> Mail -> Show Profiles -> Click Add.
Give this profile an appropriate name like IT Solutions Now.
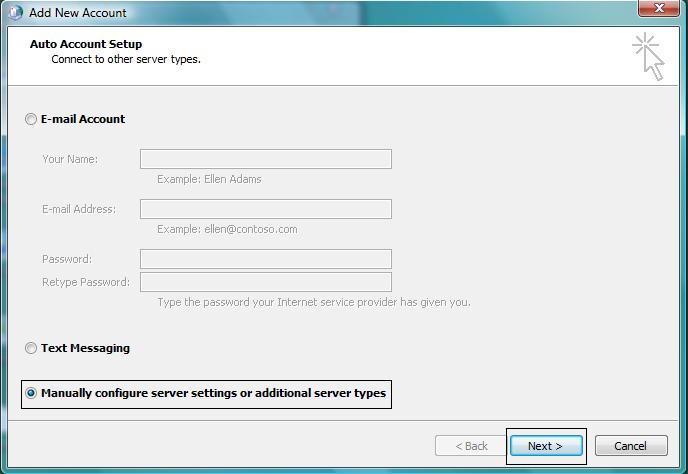
2. Â Â Â Â Next a window will appear to configure your mail profile (see picture below).
Choose to Manually configure server settings or additional server types.
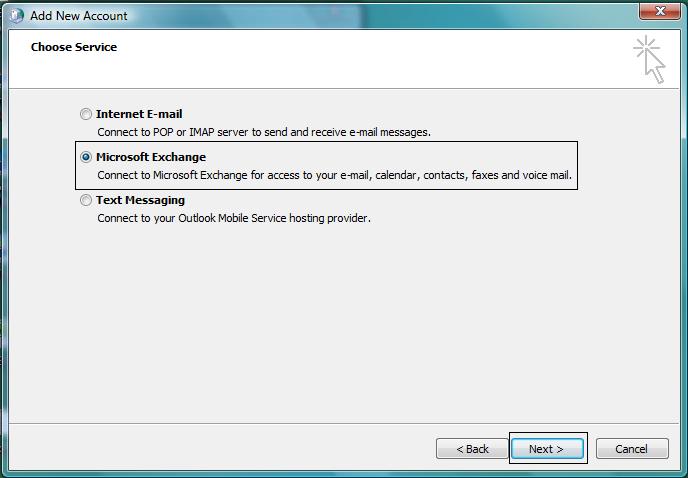
3.     Choose E-mail Service (see picture below).
Select Microsoft Exchange.
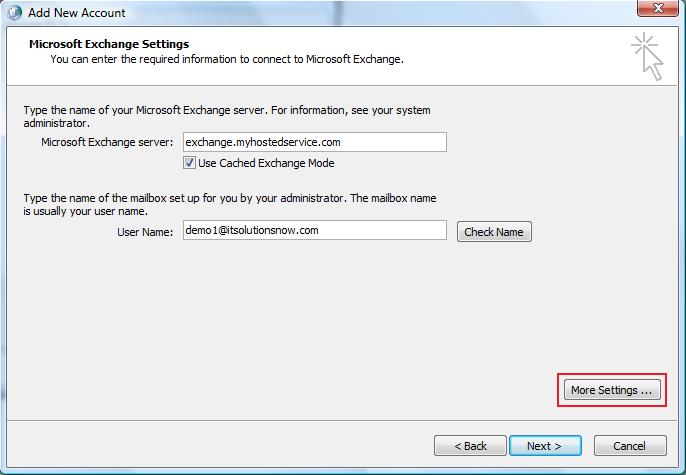
4.  Microsoft Exchange Settings (see picture below)
Microsoft Exchange Server:Â Â Â Â Â Â exchange.myhostedservice.com
Use Cached Exchange Mode:Â Â Â This should be checked
User Name:Â Â Â Â Â Â Â Â Â Â Â Â Â Â Â Â Â Â Â Â Â Â Â Â Â Â Â Â Â Â Provided during your signup
Before Clicking Next, Choose More SettingsÂ
Â
6.     After a few seconds a message is displayed:
"The action could not be completed. The connection to the Microsoft exchange server is unavailable. Outlook must be online or connected to complete this section."
Click "OK". A window with Microsoft Exchange Server name and Mailbox name pops up. Click "OK".
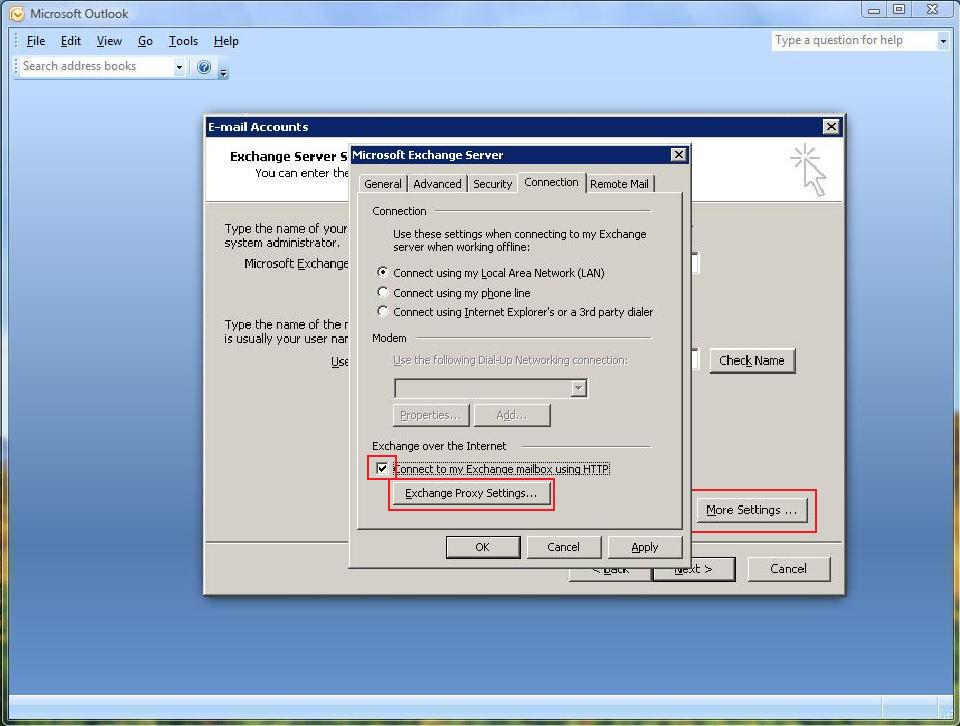
7.     A new dialog box will pop-up; Go to "Connection" tab. Check the box near "Connect to my Exchange mailbox using HTTP"
Note: This option will not show up if you don't have the hot-fix installed. You should either have Service Pack 2
This will highlight the 'Exchange Proxy Settings'
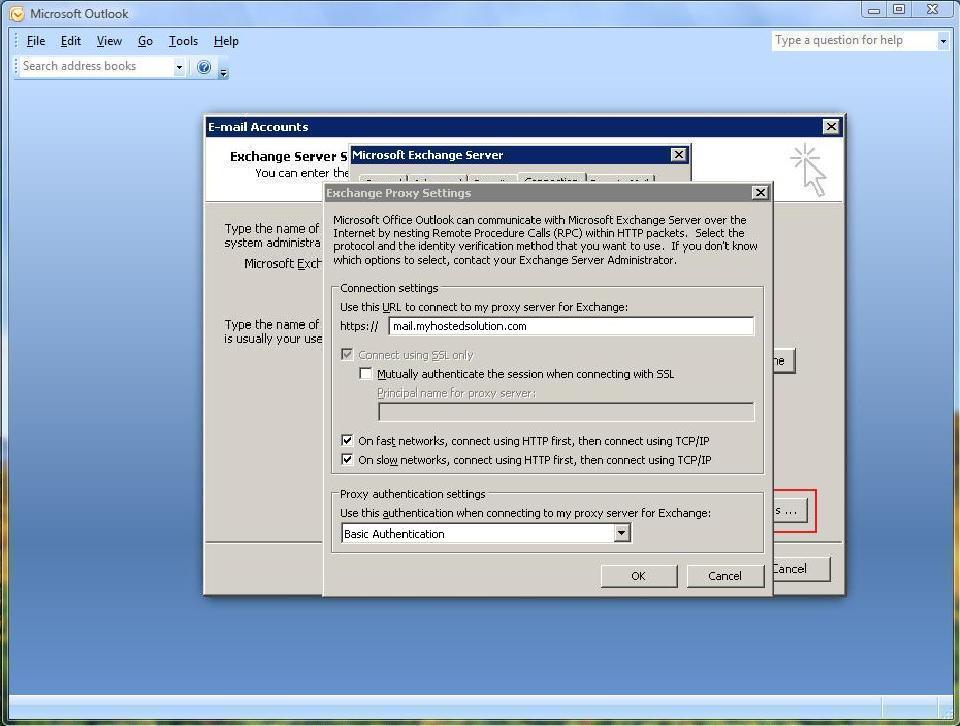
8.  Click "Exchange Proxy Settings" and enter ex2010.myhostedservice.com
Check Box "Only connect to proxy servers that have this principal name or certificate"
Then enter msstd:ex2010.myhostedservice.com
Check Box for "On fast networks, connect using HTTP first, then connect using TCP/IP"
9.     Choose "Basic Authentication" under Proxy authentication settings.
10.     Click OK then Apply, click OK then Next and Finish
11.     When starting Microsoft Office Outlook, use this profile select: "Prompt for a profile to be used" and click Apply
Open Outlook 2010 and launch the newly created profile.
***If there was a pre-existing mail profile, you can specify a default mail profile by opening the control panel, select the Mail icon, select Show Profiles, select Always Use this Profile and use the drop down box to specify the profile created above.
 Add to Favourites
  Print this Article

Support Center Quick Links
Search


