Knowledgebase
Portal Home > Knowledgebase > Exchange Hosting > How To Create a Distribution List
How To Create a Distribution List
Creating a Distribution List and Adding Members
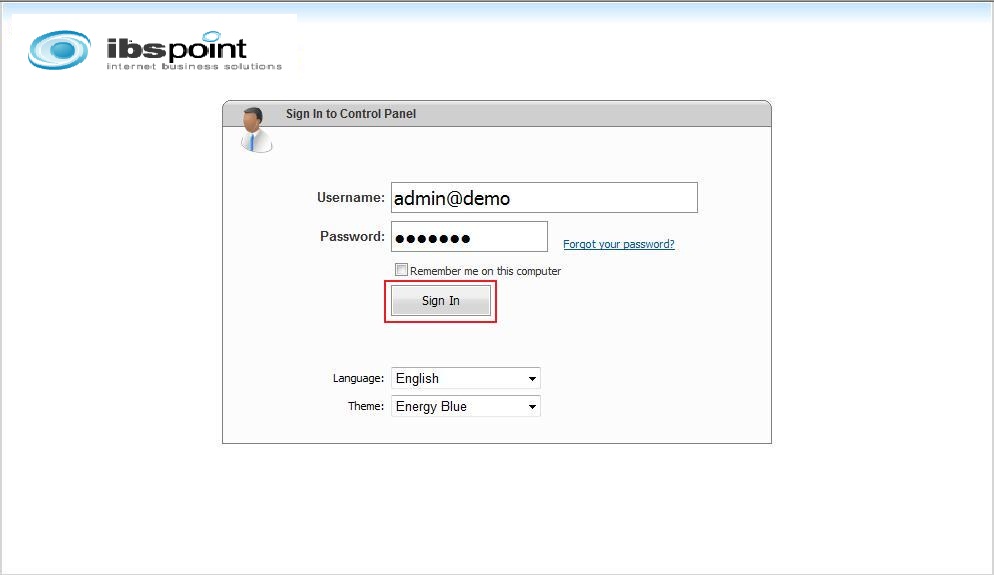
Login to your online Control Panel via https://cp.ibspoint.com
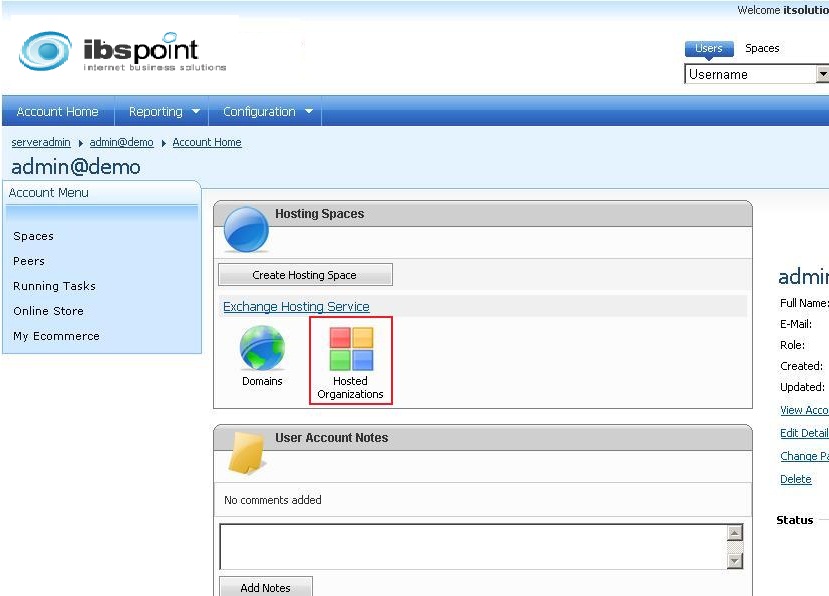
Click on Hosted Organizations
Â
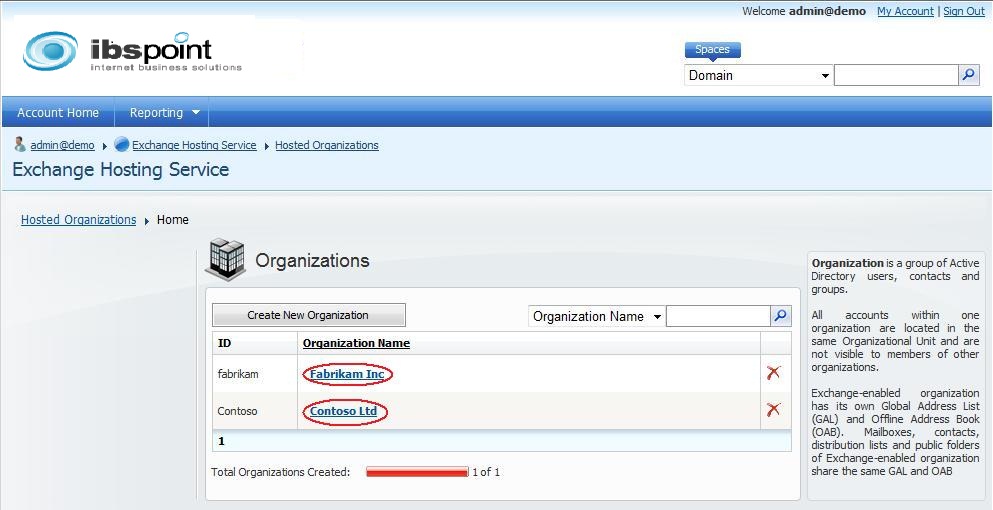
Click your Domain Name
Â
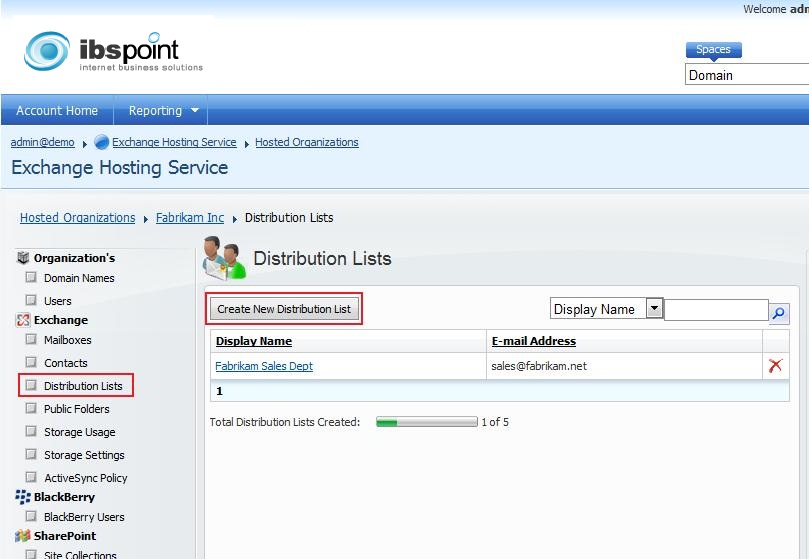
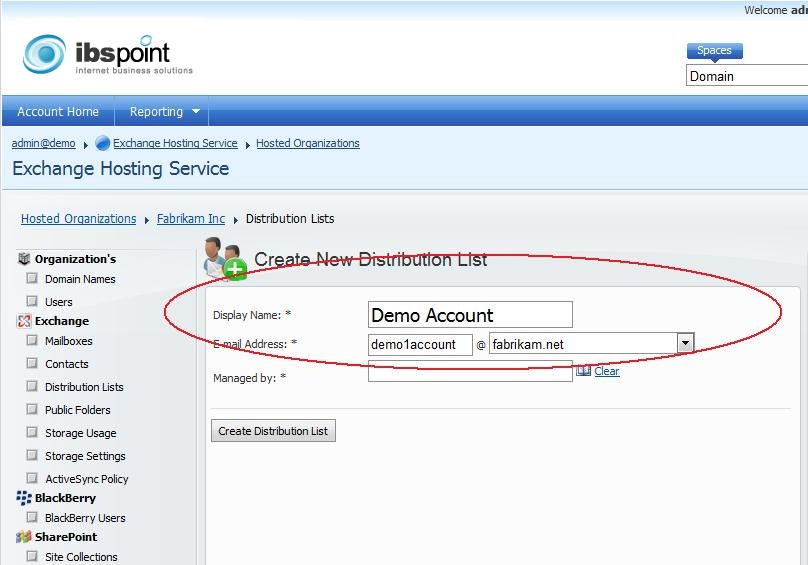
Click Distribution List from the Menu to the left of the screen and click Create New Distribution List
Enter your Display Name for the new distribution list and the email address
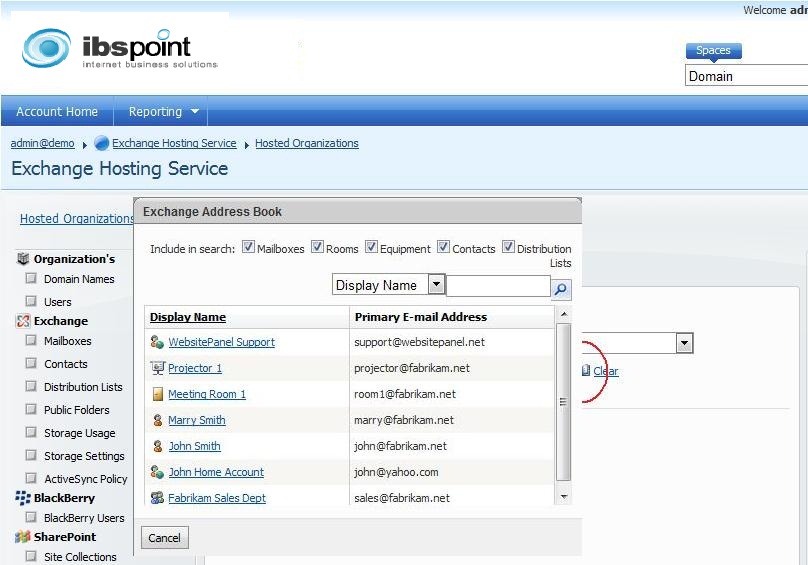
Click on the Address Book Icon to select the manager of the distribution list and Select a User
Click Create Distribution List
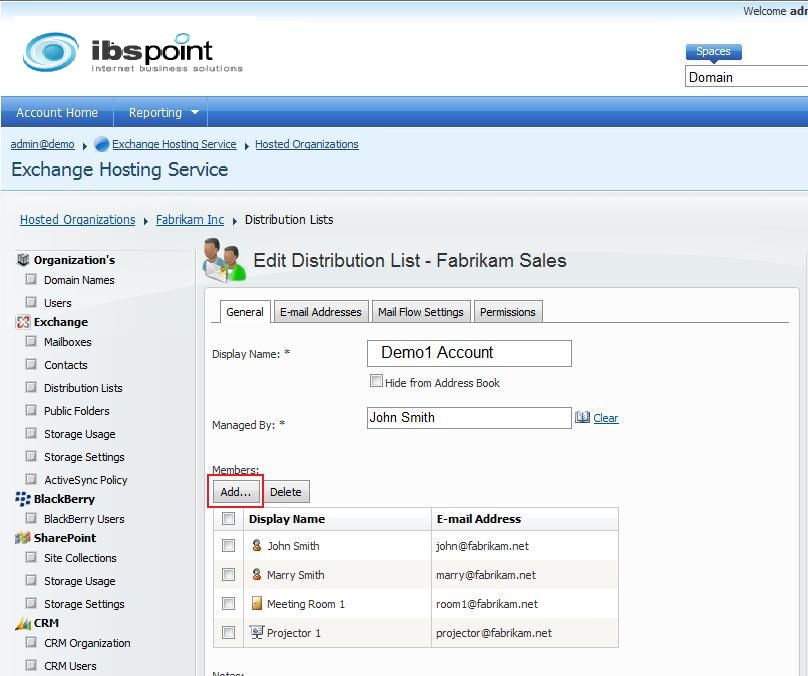
Click on the Add button to add any Mailboxes, Contacts, or other Distribution Lists that should receive email at this address
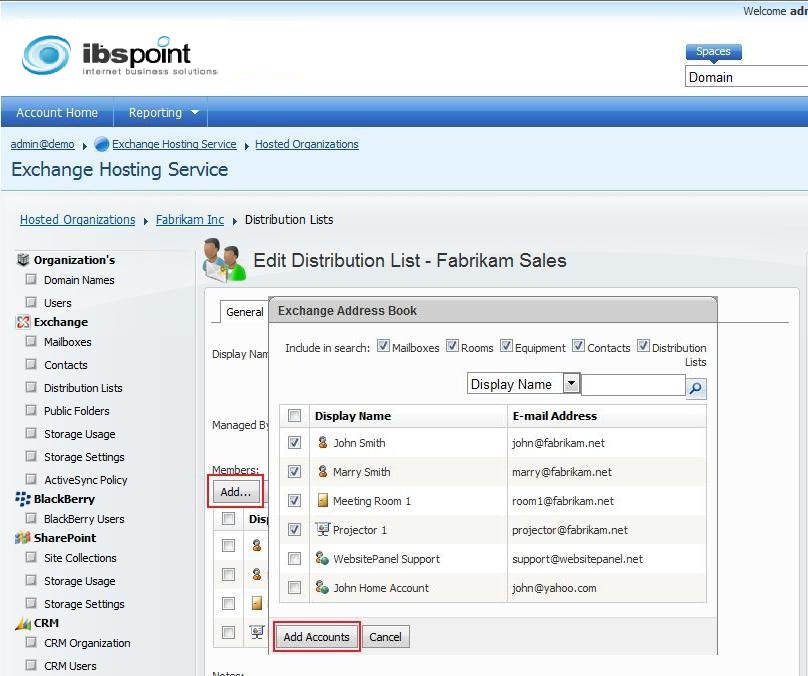
Click Add Accounts and Save Changes
Registered Hosted Exchange Account


 Add to Favourites
  Print this Article

Support Center Quick Links
Search


