Knowledgebase
Portal Home > Knowledgebase > CRM Hosting > How to Install and Configure the Microsoft Dynamics CRM 4.0 Client
How to Install and Configure the Microsoft Dynamics CRM 4.0 Client
Part 1: Computer Install
1.     Download Microsoft Dynamics CRM 4.0 Outlook client (HERE) and save it to your desktop.
2.    Double click on the file and accept the Windows security warning by clicking Run.Â
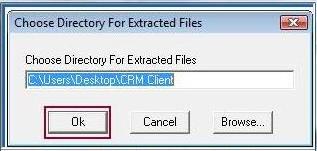
3.     A pop-up window will appear asking you where to extract the file. Choose the default location and press OK.
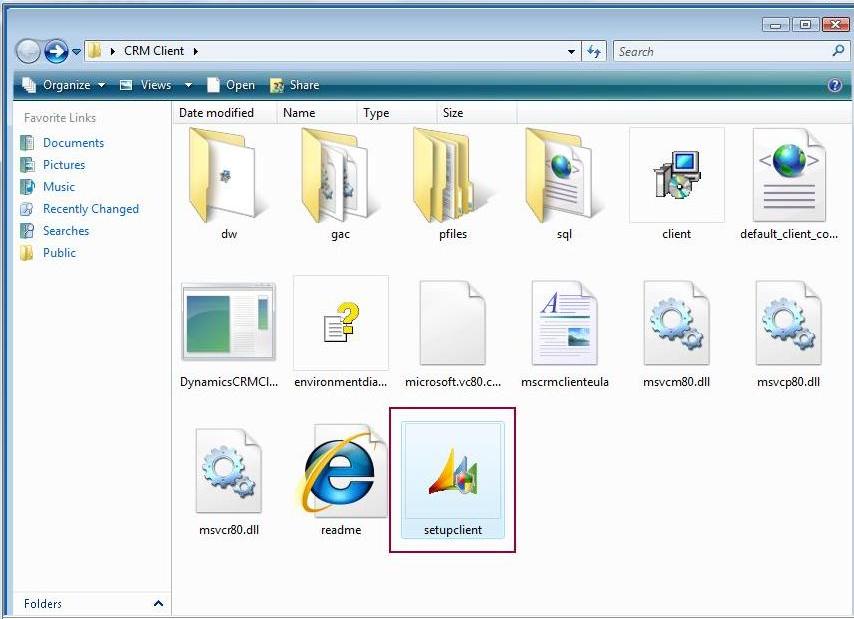
4.     To start the installation, double click on the icon entitled setup client.
5.     Depending on your version of windows, a pop-up window may appear asking for installation privileges. Click Continue to proceed with the installation
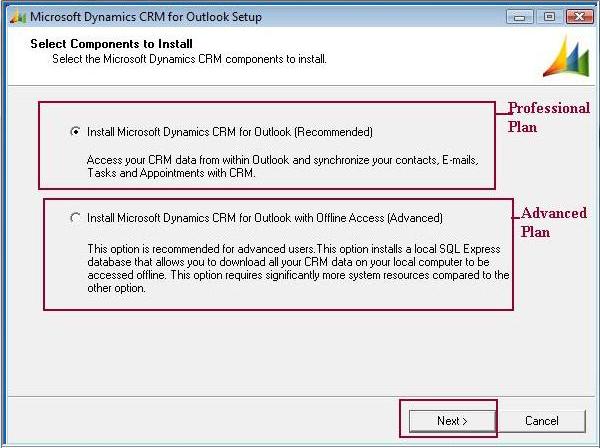
6.     CRM will create some temporary files and then you will be prompted to choose your installation type. You may select Install Microsoft Dynamics CRM for Outlook (Recommended) or Install Microsoft Dynamics CRM for Outlook with Offline access as per the recommendations of your CRM administrator and plan type
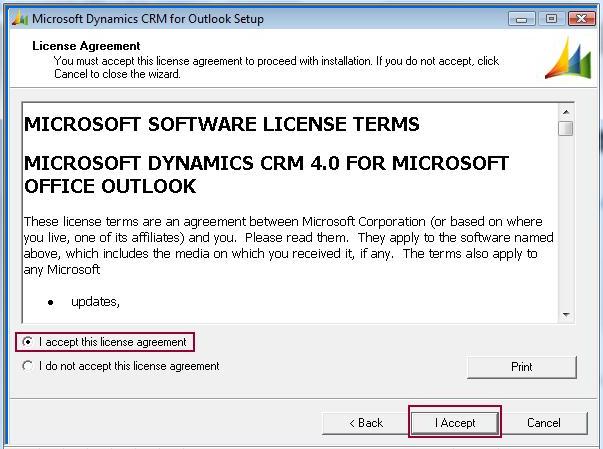
7.     Once you have chosen your install type, read and accept the EULA to continue with the installation.
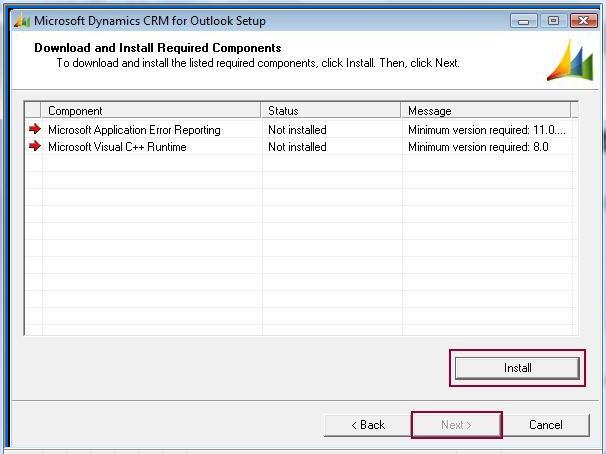
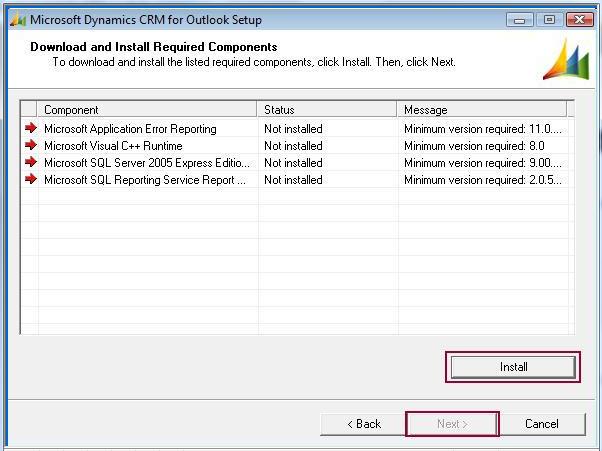
8.     The setup wizard will then run a quick scan on required components to install CRM successfully. In most cases, you will be required to install additional components. Click Install and allow the application to download and install the additional required components.
9.     If the installation is successful all the components will receive a green check mark. Click Next only if all components installed successfully.
Note: If any component fails to install, click the “back” button and retry again. If this still does not work, contact your system administrator and do not attempt to continue the installation.
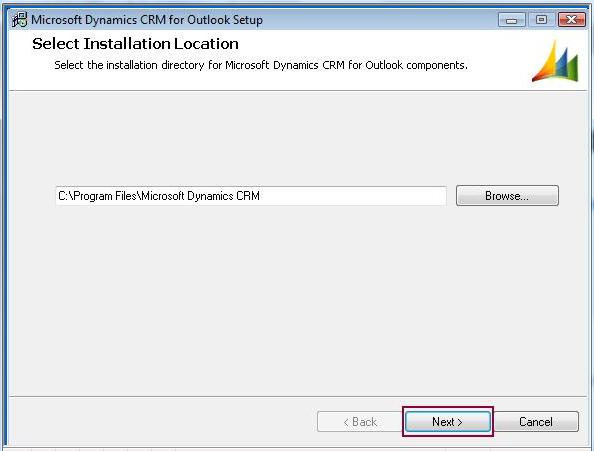
10.     The setup wizard will now ask you where you would like to install the CRM application. Choose the location or accept the default and click Next.
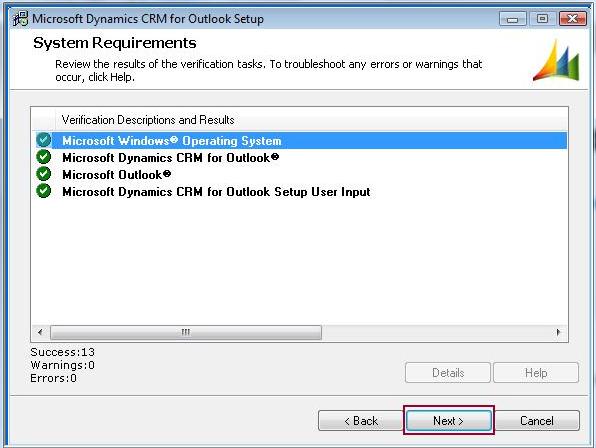
11.     A system requirements window will now validate your installed services/features. Click Next only if all services/features have a green checkmark. If any service or feature has failed to install, contact your local administrator to address the problems and then click Back to rerun the system requirements verification.
Note: Windows Vista Users installing Microsoft Dynamics CRM for Outlook with Offline access may receive the following warning message: Indexing service is not running. Please start specified service. Service CiSvc was not found on computer… (See crm14.jpg) The reason for this error is that the CRM 4.0 Outlook client uses the indexing service of pre-Vista operating systems and not the new Windows Search Service that comes installed with Vista. Failure to install this service limits the capability of word and case matching within the help files of the CRM Outlook client.
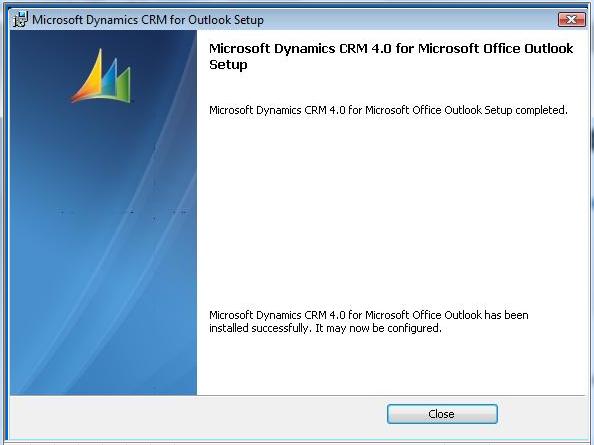
12.     The setup wizard will now install the CRM Outlook client and you will receive a completion screen. Click Close to finalize the installation.
Â
Part 2: Outlook Configuration
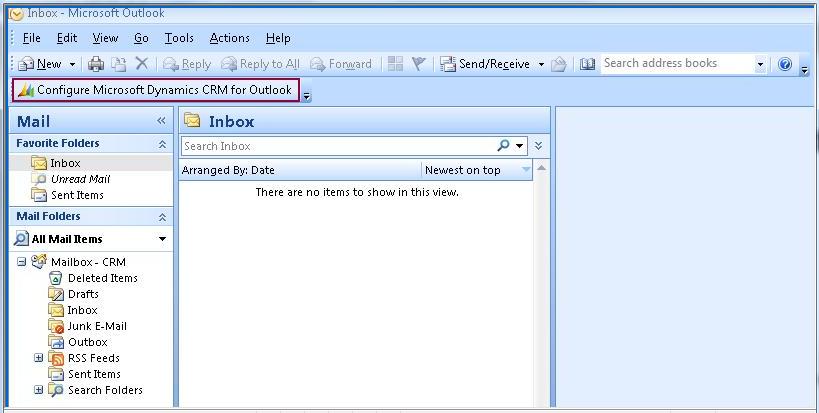
1.     After the successful installation of the CRM client you will now need to have it configured to work in Outlook. To do so, open and login to Outlook. You should immediately notice a new tab in the taskbar called Configure Microsoft Dynamics CRM for Outlook. Click on this tab to commence with the configuration.
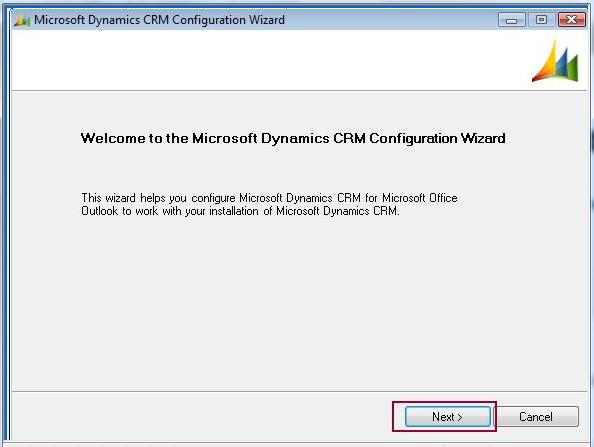
2.     You will now be presented with the Microsoft Dynamics CRM Configuration Wizard. Click Next to continue with the installation.
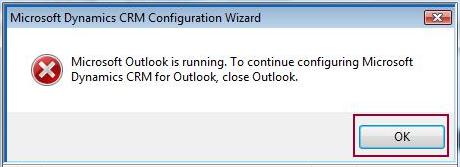
3.     A warning box will appear telling you to close Outlook to continue. Click OK and proceed with closing Outlook.
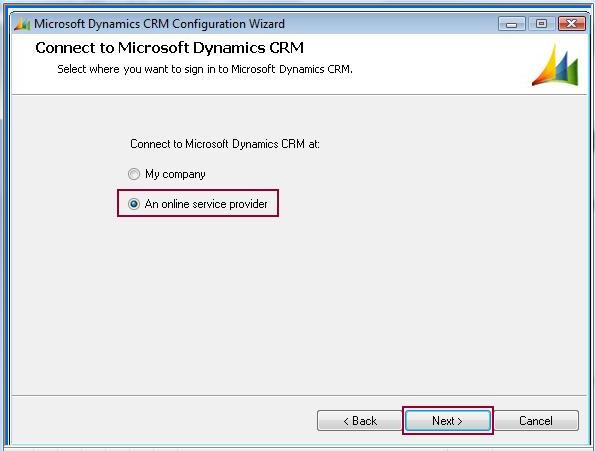
4.     You will now be asked where you will sign into the CRM. Select the radio button An online service provider and then click Next.
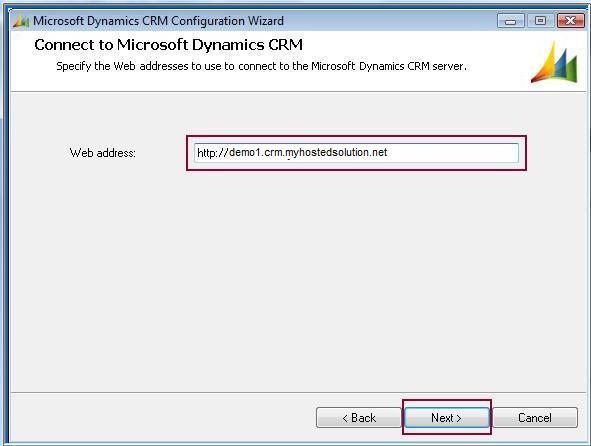
5.     You will be asked to enter the web address of your CRM installation.
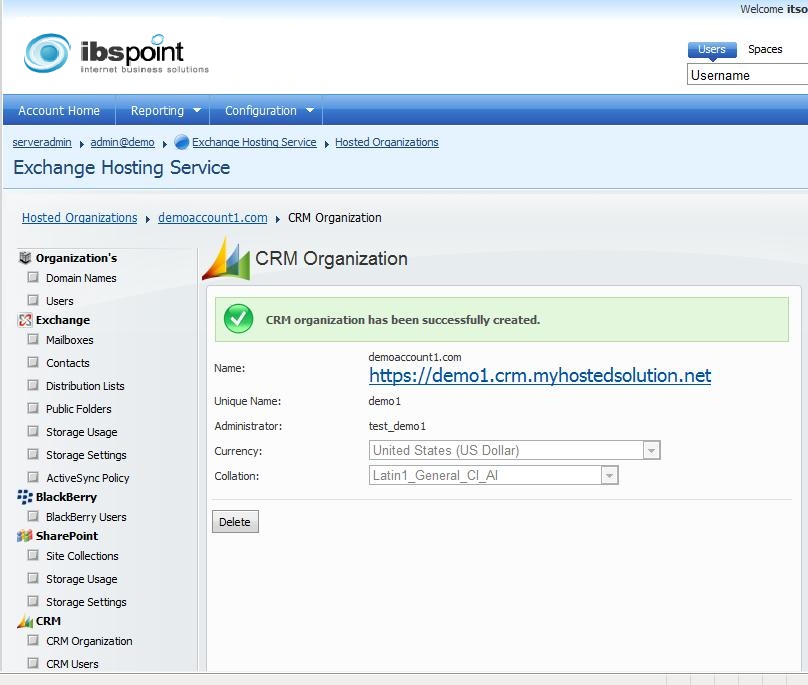
6.     If you have administrative privileges (or the assistance from a user with administrative access), login via your hosted control panel via https://cp.ibspoint.com and under CRM Organizations you will find the URL of your CRM site.
7.     Copy this URL into the address box of the wizard and click Next.
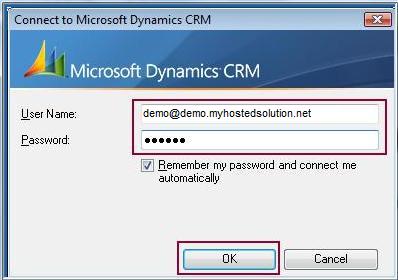
8.     A pop-up box will appear asking for your username and password. Enter your email address and password that you would use to access your Exchange/POP mail, SharePoint site, Webmail or the hosted control panel. Once satisfied, click OK.
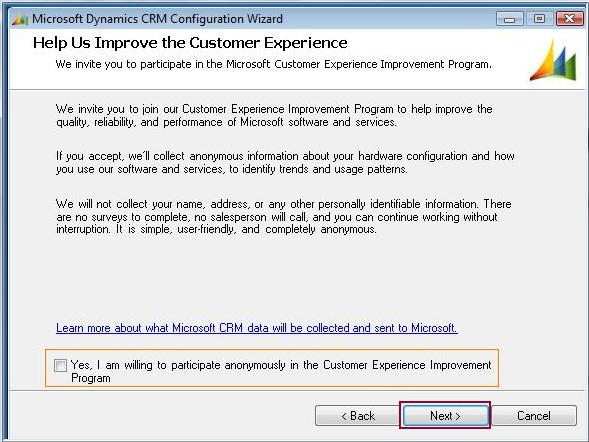
9.     The wizard will ask for your confirmation via the Customer Experience Improvement Program tick the box to indicate your participation or leave it blank if you decline. Once satisfied, click Next.
10.     The wizard will now do a final System Requirements validation. Proceed to correct any errors that are not green check marked and click Next.
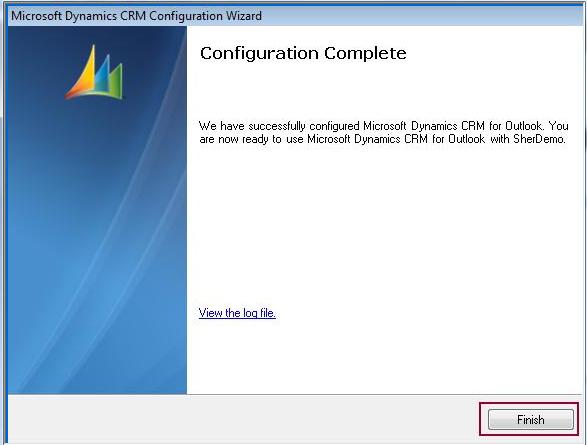
11.     CRM will now configure. If successful, you should receive a Configuration Complete screen. Press Finish.
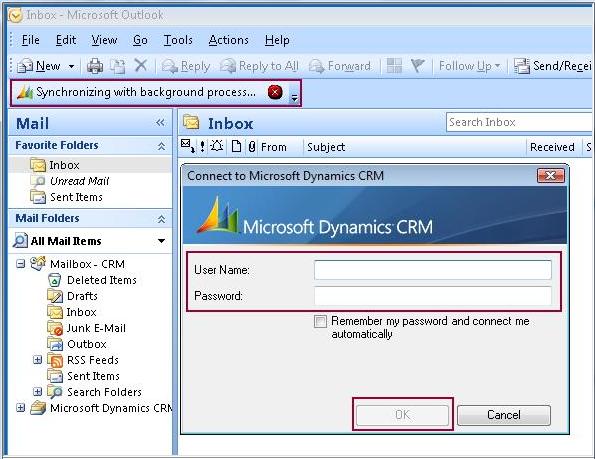
12.     You can now open Outlook. You will be asked for your username and password and CRM will now start initializing in the background.
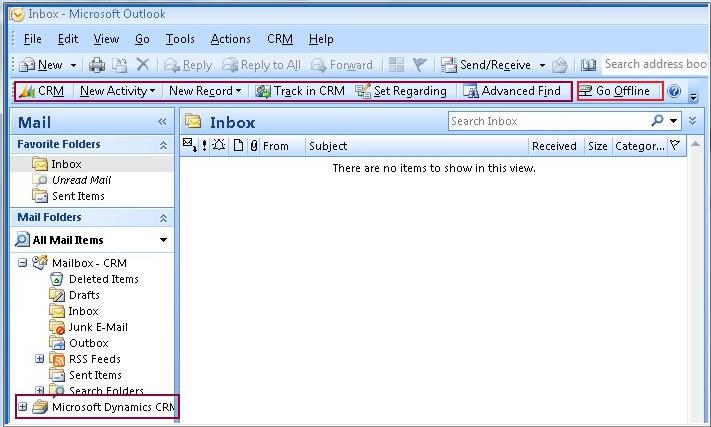
13.     Once synchronization is complete, a new CRM toolbar will appear. You can start using CRM right away.


 Add to Favourites
  Print this Article

Support Center Quick Links
Search


